Dell Wyse 3020
Dell Wyse 3020 is a MMP3-based thin client, sometimes referred to as “Ariel”, “Tx0D”, “T10D”, “T20D”, etc. It’s reasonably well supported by the mainline kernel.
It comes with “WLoader” firmware, but can be flashed with Open Firmware. Open Firmware is 100% free software and provides better Device Tree support than WLoader.
Contents:
Hardware Support
| Hardware | Model | Status |
|---|---|---|
| Embedded Controller | ene-kb3930 | Mainline (5.9) |
| Power Button | ariel-pwrbutton | Mainline (5.11) |
| Status LEDs | leds-ariel | Mainline (5.8) |
| Video Encoder | ch7033 | Mainline (5.8) |
| Power Regulator | 88pm867 | Mainline |
| RTC | ds1338 | Mainline |
| Firmware Flash | w25q32 | Mainline |
| Audio Codec | ce506 | Not started |
Connecting the console
Connecting to the board’s console serial port is a good idea for initial installation and at least until the DRM driver is mainlined.
The UART serial port is located on the CN4502 connector with the following pinout (with the pins on the right side, the silk screen marking on the left of it):
         ___
        |   |
CN4502  | o | TX
Debug   | o | RX
Conn1   | o | GND
        | o |
B       | o |
        |___|
Configure your favorite terminal programs with 115200 baud, 8 bits, no parity and stop bits (115200 8N1) and you’re good to go.
Booting with WLoader
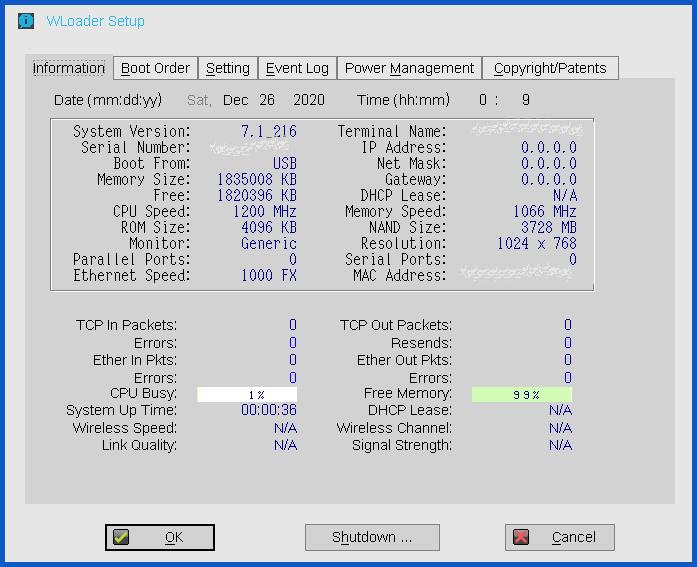
The device comes with a boot loader called WLoader. It’s apparently is a stripped down version of Wyse’s ThinOS, with GUI, USB and Network support, capable of loading ELF images of ThinkOS as well as Linux U-Boot-style uImages. There’s basically zero configuration for it, but aparently it reads a file called wloader.conf, which tells it which kernel and initrd to load.

To start Linux on the machine, you need to prepare an USB flash stick with
a Linux installation. The process destroys all data on the target volume,
so make sure you pick the right one. Substitute sdx in command below
for your actual volume. lsblk command might help you identify which one
is it. Once you know the device name, you’re ready to install your
favourite distro. Fedora for OLPC XO-1.75 machine is fine:
# arm-image-installer --resizefs --target=olpc_xo175 --media=/dev/sdx \
    --image=Fedora-Minimal-armhfp-32-1.6-sda.raw.xz

=====================================================
= Selected Image:
= Fedora-Minimal-armhfp-32-1.6-sda.raw.xz
= Selected Media : /dev/sdx
= U-Boot Target : olpc_xo175
=====================================================

*****************************************************
*****************************************************
******** WARNING! ALL DATA WILL BE DESTROYED ********
*****************************************************
*****************************************************

 Type 'YES' to proceed, anything else to exit now

= Proceed? YES
= Writing:
= Fedora-Minimal-armhfp-32-1.6-sda.raw.xz
= To: /dev/sdx ....
2066571264 bytes (2.1 GB, 1.9 GiB) copied, 91 s, 22.7 MB/s
0+233502 records in
0+233502 records out
2088763392 bytes (2.1 GB, 1.9 GiB) copied, 91.554 s, 22.8 MB/s
= Writing image complete!
= Copying loader scripts to boot partition

= Installation Complete! Insert into the olpc_xo175 and boot.
#
Mount the boot partitions and make some room:
# mount /dev/sdx2 /mnt
# mount /dev/sdx1 /mnt/efi/
# rm -rf /mnt/efi/*
#
Create the uImages:
# cat /mnt/vmlinuz-* /mnt/dtb-*/mmp3-dell-ariel.dtb >/mnt/zImage
# mkimage -A arm -O linux -C none  -T kernel -a 0x00008000 -e 0x00008000 -d /mnt/zImage /mnt/efi/uImage
Image Name:
Created:      Tue May 12 13:24:10 2020
Image Type:   ARM Linux Kernel Image (uncompressed)
Data Size:    7654917 Bytes = 7475.50 KiB = 7.30 MiB
Load Address: 00008000
Entry Point:  00008000
# mkimage -A arm -O linux -C none  -T ramdisk -d /mnt/efi/initramfs-* /mnt/efi/uInitrd
Image Name:
Created:      Tue May 12 12:45:09 2020
Image Type:   ARM Linux RAMDisk Image (uncompressed)
Data Size:    51619027 Bytes = 50409.21 KiB = 49.23 MiB
Load Address: 00000000
Entry Point:  00000000
And write the boot loader configuration:
# cat >/mnt/efi/wloader.cfg <<EOF
> <TX0D_START>
>
> kernel=./uImage
> initrd=./uInitrd
> param="$(sed -n 's/^[\t ]*append //p' /mnt/extlinux/extlinux.conf)"
>
> <TX0D_END>
> EOF
# umount /mnt/efi /mnt
#
Plug in the driver in any of the machine’s USB ports and you’re ready to boot it:
- Hold power button until the LED turns Green
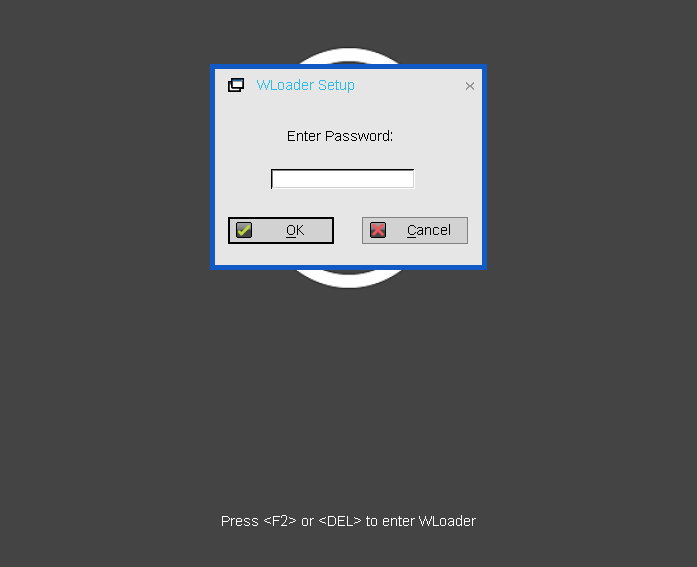
- Keep pressing “P”, default password is “Fireport”
- Choose boot from USB


Installing Open Firmware
Flash Open Firmware:
# echo spidev >/sys/devices/platform/soc/d4000000.apb/d4035000.spi/spi_master/spi1/spi1.0/driver_override
# echo spi1.0 >/sys/devices/platform/soc/d4000000.apb/d4035000.spi/spi_master/spi1/spi1.0/driver/unbind
# echo spi1.0 >/sys/bus/spi/drivers/spidev/bind
# echo spi1.0 >/sys/bus/spi/drivers/spidev/bind
# flashrom -p linux_spi:dev=/dev/spidev1.0 -w q7c07.rom
#